Using your trained model
Now that we have our trained model called fast-ner, stored under experiments/fast-ner/<date>/<time>, we can use it!
classy offers a wide variety of commands to explore, test and deploy your trained models.
Predicting
Use fast-ner to perform Named Entity Recognition on every sentence stored in a target file:
Recall that classy predict has two modes: interactive, which lets you query the model from the shell, and file,
which instead reads the dataset items from the specified file.
classy predict also supports an interactive mode. Check out the documentation for more details.
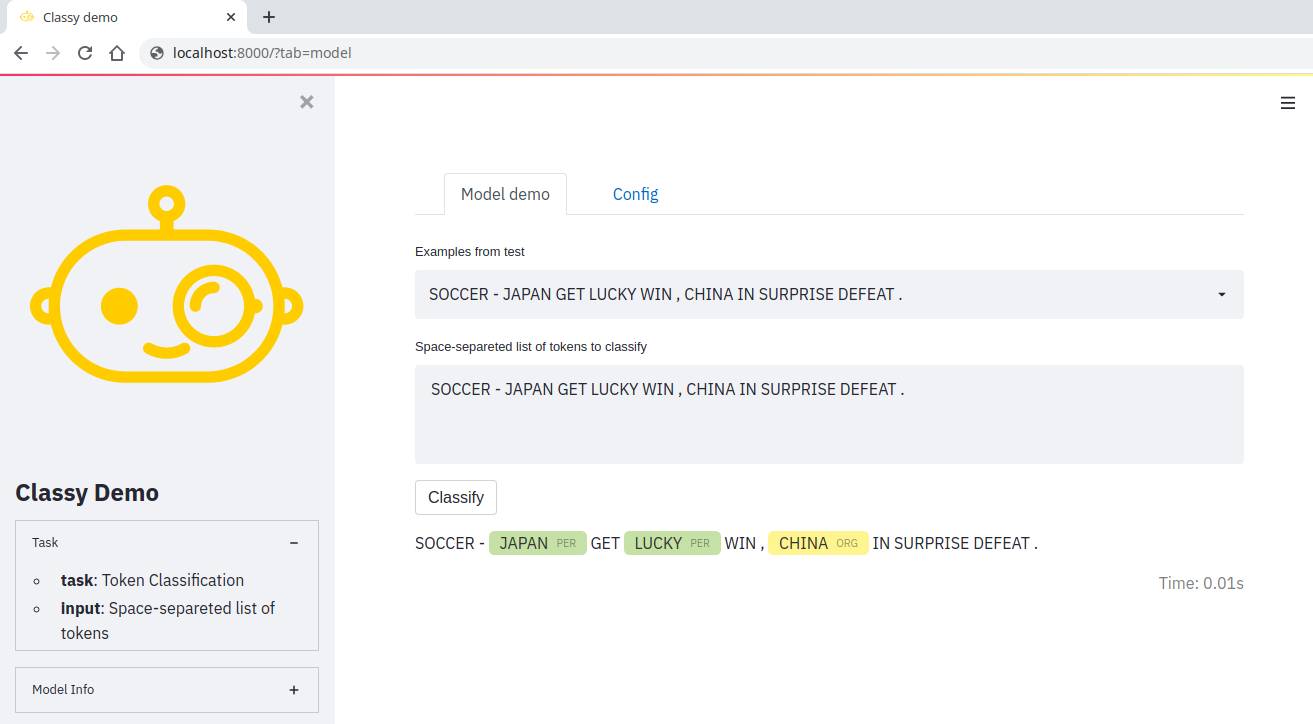
Presenting
Present a demo of fast-ner:
The demo (available at http://localhost:8000/) has a page to try free-hand input texts or samples taken from a validation or test set, if available,
and a page that shows the full configuration the model has been trained with. For more details, check out classy demo's documentation.
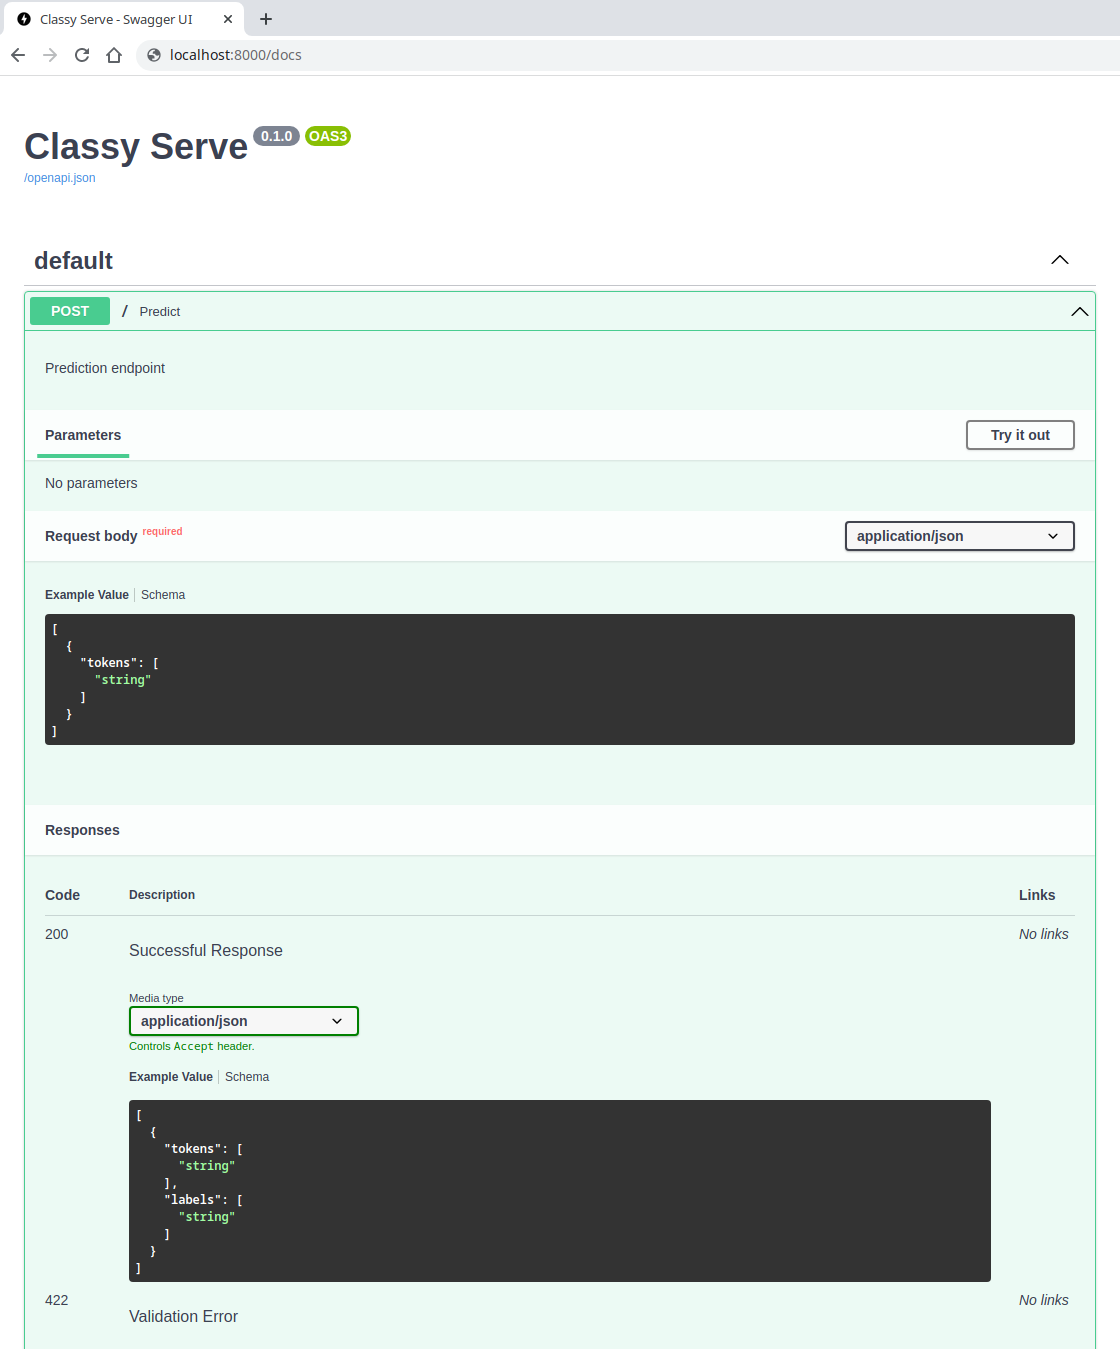
Exposing via REST API
Expose fast-ner via a REST API that can be queried by any REST client:
We also automatically generate the OpenAPI documentation page!